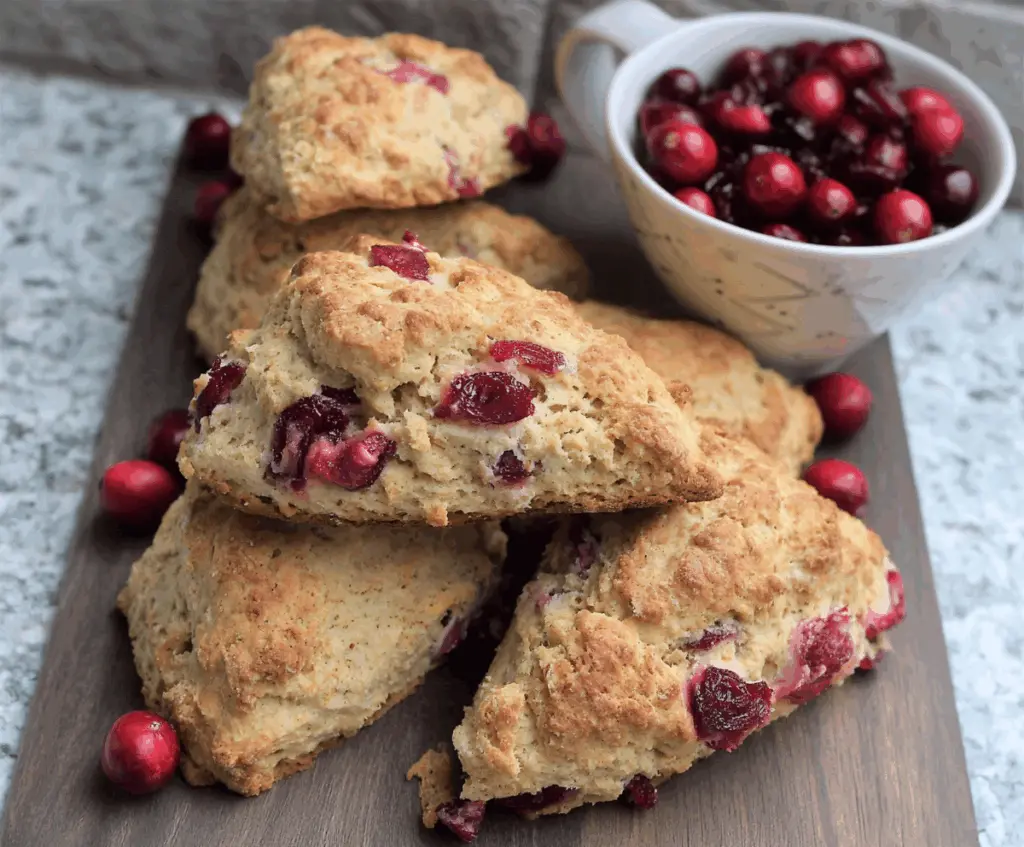
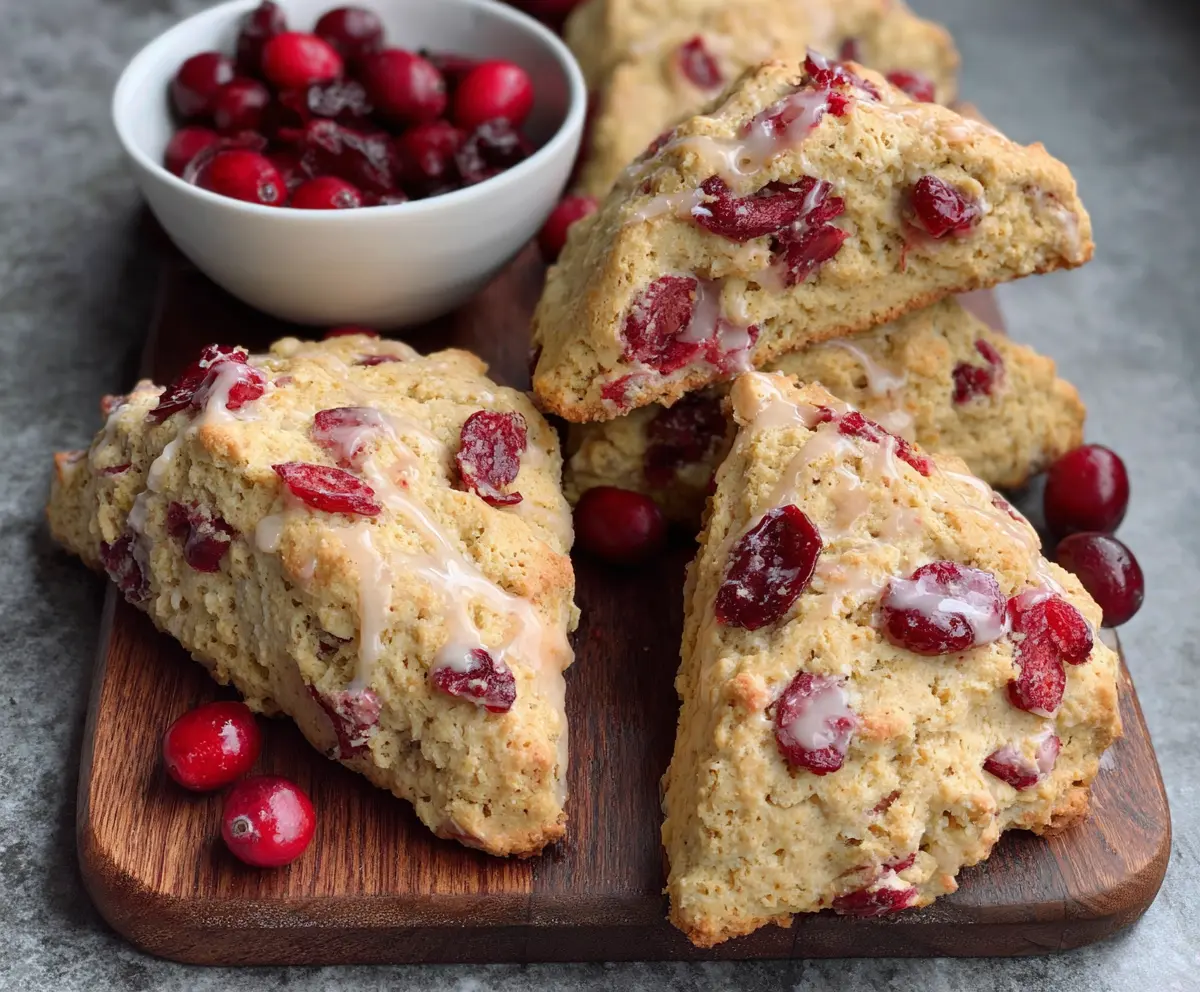
These gluten-free cranberry scones are a delightful treat! With sweet, tangy cranberries and a buttery texture, they make a perfect snack or breakfast option.
Honestly, who can resist the combination of sweet and tart? I love enjoying them with a cup of tea. They’ll brighten up your morning, trust me! ☕️
Key Ingredients & Substitutions
Gluten-Free Flour Blend: This blend is crucial for the scones’ texture. Ensure it contains xanthan gum for binding. If you don’t have this, you can mix almond flour and coconut flour (1:1) for a different texture, but it might yield a denser scone.
Cranberries: Fresh cranberries are best for brightness and flavor. Frozen ones are fine too! If cranberries aren’t available, consider using dried cranberries or other berries like blueberries, though the texture might differ.
Butter: Cold unsalted butter gives the scones their flakiness. If you need a dairy-free option, coconut oil or a plant-based butter can work, but make sure it’s cold to achieve similar results.
Heavy Cream: This adds richness and moisture. You can substitute with full-fat coconut milk or a dairy-free cream for a lighter touch, but keep an eye on the dough’s consistency.
How Do I Ensure My Scones Are Flaky and Tender?
The key to light and fluffy scones lies in the mixing method and the temperature of your ingredients. Here’s how to get it right:
- Use cold butter: Cutting in cold butter creates small pockets that make the scones flaky as they bake.
- Don’t overmix: Combine ingredients until just mixed. Overworking the dough makes scones tough instead of tender.
- Pat, don’t roll: Pat the dough into shape rather than rolling it out. This keeps the texture light and airy.
- Chill before baking: If time allows, chill the shaped scones in the fridge for about 15 minutes. This step helps them maintain their shape while baking.
How to Make Gluten Free Cranberry Scones
Ingredients You’ll Need:
Dry Ingredients:
- 2 cups gluten-free all-purpose flour blend (with xanthan gum)
- 1/4 cup granulated sugar
- 1 tablespoon baking powder
- 1/2 teaspoon salt
- 1/2 teaspoon ground cinnamon (optional)
Wet Ingredients:
- 1/2 cup cold unsalted butter, cubed
- 1/2 cup fresh or frozen cranberries, roughly chopped
- 3/4 cup heavy cream (plus more for brushing)
- 1 large egg
- 1 teaspoon vanilla extract
How Much Time Will You Need?
This recipe takes about 15 minutes for prep and 20 minutes for baking. So, in total, you’ll need around 35-40 minutes to enjoy warm, delicious cranberry scones right out of the oven!
Step-by-Step Instructions:
1. Preheat the Oven:
Start by preheating your oven to 400°F (200°C). This ensures your scones bake evenly and become beautifully golden. Line a baking sheet with parchment paper, making clean-up a breeze.
2. Mix the Dry Ingredients:
In a large mixing bowl, whisk together the gluten-free flour, sugar, baking powder, salt, and cinnamon (if you like a hint of spice). This step combines the ingredients evenly and ensures they work together perfectly.
3. Cut in the Butter:
Add the cold cubed butter to your flour mixture. Using a pastry cutter or your fingers, mix it in until the mixture resembles coarse crumbs with small pea-sized pieces. This creates the flaky texture we love in scones!
4. Fold in the Cranberries:
Gently fold in the chopped cranberries. This adds a lovely tartness and flavor that balances the sweetness of the dough.
5. Whisk the Wet Ingredients:
In a separate bowl, whisk together the heavy cream, egg, and vanilla extract. This mixture will add moisture and richness to your scones.
6. Combine Wet and Dry:
Pour the wet ingredients into the dry ingredients. Mix gently with a spatula or wooden spoon until just combined. Be careful not to overmix; the dough should still be a little sticky, which is perfect!
7. Shape the Dough:
Turn the dough out onto a floured surface (using more gluten-free flour). Pat it into a 7-inch circle that’s about 1 inch thick. It’s important to handle the dough gently to keep those lovely air pockets!
8. Cut the Scones:
Using a sharp knife or a pizza cutter, cut the circle into 8 equal wedges. Transfer the scones to your prepared baking sheet, making sure to space them slightly apart for even baking.
9. Brush for Shine:
Brush the tops of the scones lightly with a bit of heavy cream. This will help them brown beautifully in the oven!
10. Bake the Scones:
Place the scones in the oven and bake for 18-22 minutes. They should be golden brown, and a toothpick inserted into the center should come out clean. If you see a little melted butter, that’s okay!
11. Cool Down:
Once done, remove the scones from the oven and let them cool on the baking sheet for about 5 minutes. This helps them set before you transfer them to a wire rack to cool completely.
12. Serve and Enjoy:
Finally, enjoy these scones warm or at room temperature. They are delicious on their own or served with butter, jam, or clotted cream. Share with friends and family or savor every bite yourself!
Can I Use Almond Flour Instead of Gluten-Free Flour Blend?
Yes, but almond flour will yield a denser scone. To mimic the texture of traditional scones, consider using a gluten-free all-purpose blend that contains xanthan gum, as it helps to bind the ingredients better.
Can I Freeze the Scones?
Absolutely! You can freeze the scones before or after baking. If freezing before baking, shape and cut them, then place them on a baking sheet to freeze individually before transferring to a freezer bag. Bake from frozen, adding a few extra minutes to the baking time.
What Can I Substitute for Heavy Cream?
If you need a dairy-free option, you can substitute coconut cream or a dairy-free cream alternative. Just ensure it’s a thick cream for the right texture. If you’re using a liquid plant milk, the scones may not be as rich, so consider adding a bit of melted coconut oil for extra moisture.
How Do I Store Leftover Scones?
Store any leftovers in an airtight container at room temperature for up to 3 days. You can also refrigerate them for a longer shelf life. To refresh, warm in the oven or microwave for a few seconds before serving!